


Undertaking a DIY project to surface your garage with epoxy is a rewarding endeavor that transforms not only the appearance of your garage but also its functionality. As you embark on this journey, you’re not just revamping a space; you’re creating a durable, visually appealing, and highly functional area that can stand up to the rigors of daily use. The combination of DNY-200 and DHDC 6400(s) provides a winning formula for your garage’s surfacing needs, ensuring a smooth and efficient process that yields a long-lasting and impressive result.

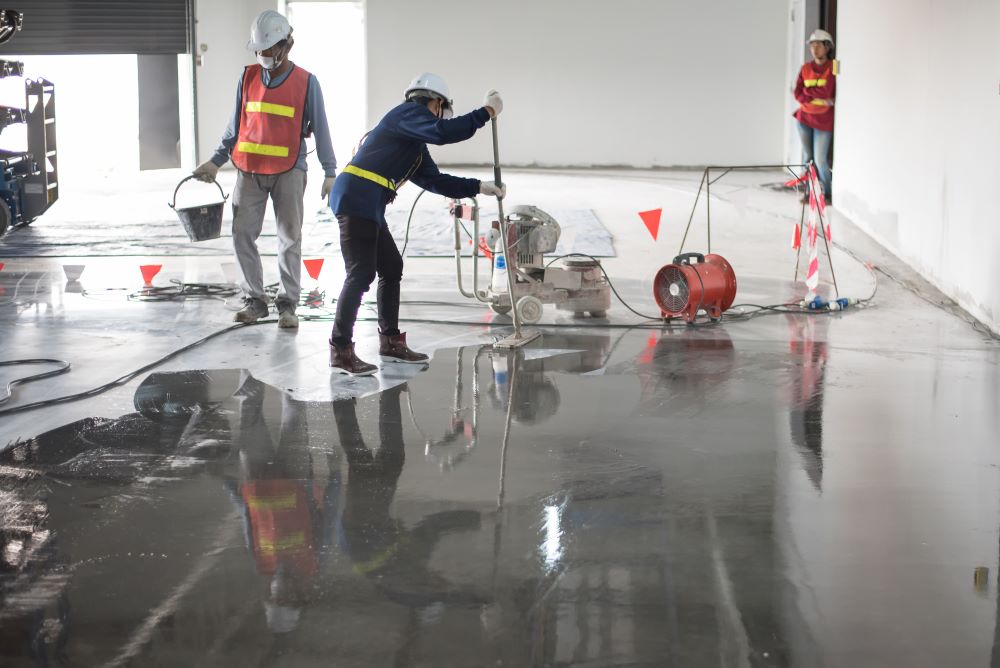
Garage epoxy surfacing project
Please note that his is a guide only. There are many factors outside of our control that can affect your final finish. All products are of professional grade and should only be attempted as a DIY project if you are sufficiently confident with your own abilities. Consult the technical data sheets and the material safety data sheets before commencing any work.
Tools and gear needed
- Flat squeegee
- Roller
- sprayer (optional)
Materials needed
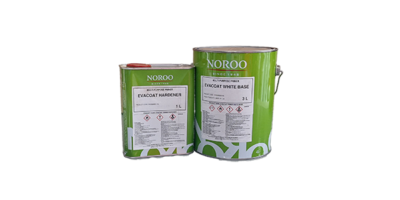
- DNY 200 epoxy primer – coverage rate is typically 8-10 m²/L
- DHDC 6400 High build epoxy – coverage rate is typically 5-8 m²/L
- Cleanpoxy Putty
- DR-100 epoxy thinner
Steps
Surface preparation
Safety measures
No special precautions are needed in this step
Actions to take
The concrete substrate must be at least 28 days old.
The PH level should be between 7-9.
The substrate moisture content must be blow 6% prior to application.
Ensure the surface is clean and free of any contaminants as well as dust and any previous coverings
Spray surface using high pressure hose (recommended to use 3000psi)
Use appropriate cleaning solutions and degreaser to remove any remaining grease and oil
Use an acid wash (10:1 water : hydrochloric acid) to remove any remaining contaminants as well as abrading the surface slightly
Clear the surface again using the high pressure hose, ensuring all cleaning agents are cleared now
Wait period before beginning next step
Wait until the surface is fully dried before beginning your application

Helpful tip
Hydrochloric acid (32%) or pool acid are recommended for an acid wash if needed.
Primer Coat
Safety measures
No special precautions are needed in this step
Actions to take
Mix DNY 200 epoxy primer parts A & B
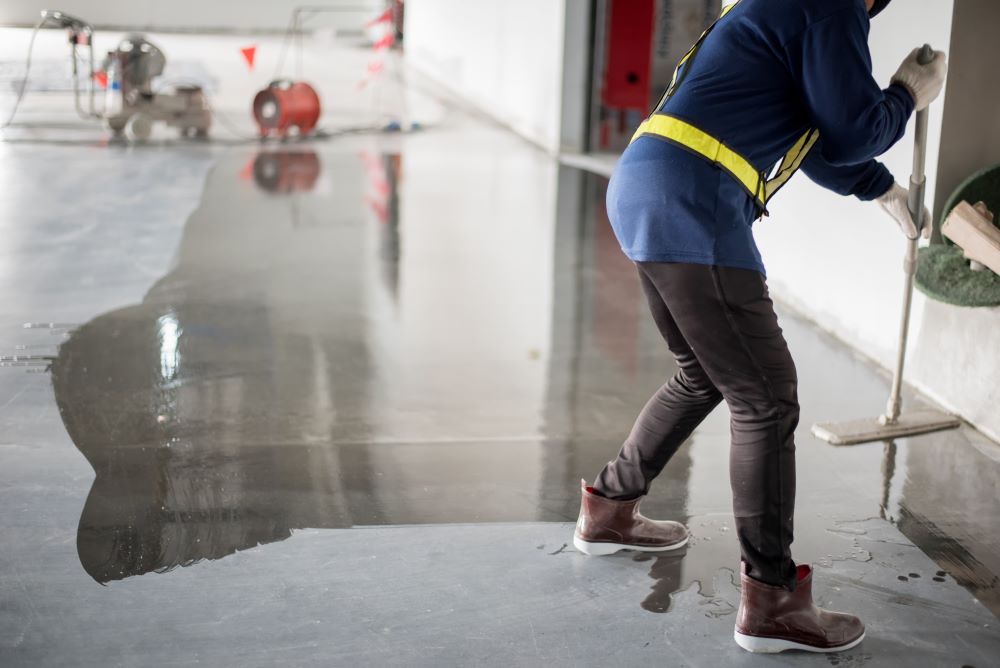
Apply the primer coat of DNY 200 primer onto surface, it is very important to achieve a uniform application.
You can pour the primer out, spreading it evenly using a squeegee, and back-roll with a roller.
Or you can use a sprayer to distribute the primer.
Wait period before beginning next step
Allow the primer to cure fully, check the TDS for cure times
Helpful tip
Give maximum time to work with your epoxy. Keep unmixed containers iced before use.
Top Coat
Safety measures
No special precautions are needed in this step
Actions to take
After applying the primer, fill in any cracks, blow holes and voids using epoxy putty
Mix DHDC 6400 epoxy part A & B.
If you are tinting then mix the colour tint with part A before combining A & B.
Apply the top coat of DHDC 6400 epoxy onto surface, it is very important to achieve a uniform application.
You can pour the epoxy out, spreading it evenly using a squeegee, and back-roll with a roller.
Or you can use a sprayer to distribute the epoxy.
DHDC 6400 epoxy is a solvent free epoxy which means you do not need to use a thinner during the application process.
If there are any air bubbles in the topcoat, spray the area with DR-100 thinner to remove them.
Wait period before beginning next step
Allow the epoxy time to fully dry, check the TDS for cure times
Helpful tip
Clean up residue with Xylene solvent. For larger spills, mop up excess with rags and then clean with Xylene.
Contact Us Today
Drop us a line
To get started, simply fill out the form below or contact us using any of the provided contact methods.
Head office number
1300 655 853
Sales@oxide.com.au
Locations
236-238 Planet st, Welshpool, Perth WA 6106
Trading Hours
-
Monday 7am - 4pm
-
Tuesday 7am - 4pm
-
Wednesday 7am - 4pm
-
Thursday 7am - 4pm
-
Friday 7am - 4pm
-
Saturday Closed
-
Sunday Closed