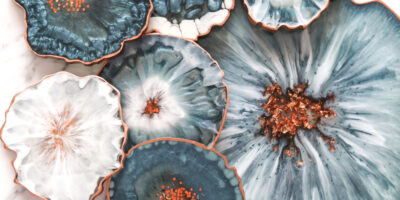
Epoxy flooring systems give you design options that no other flooring systems can match. You can make any room uniquely yours with a multitude of designs and patterns using tints, metallic powders and flake. Epoxy flooring is easy to clean, maintain, and hardwearing ensuring it’s longevity as a floor coating.
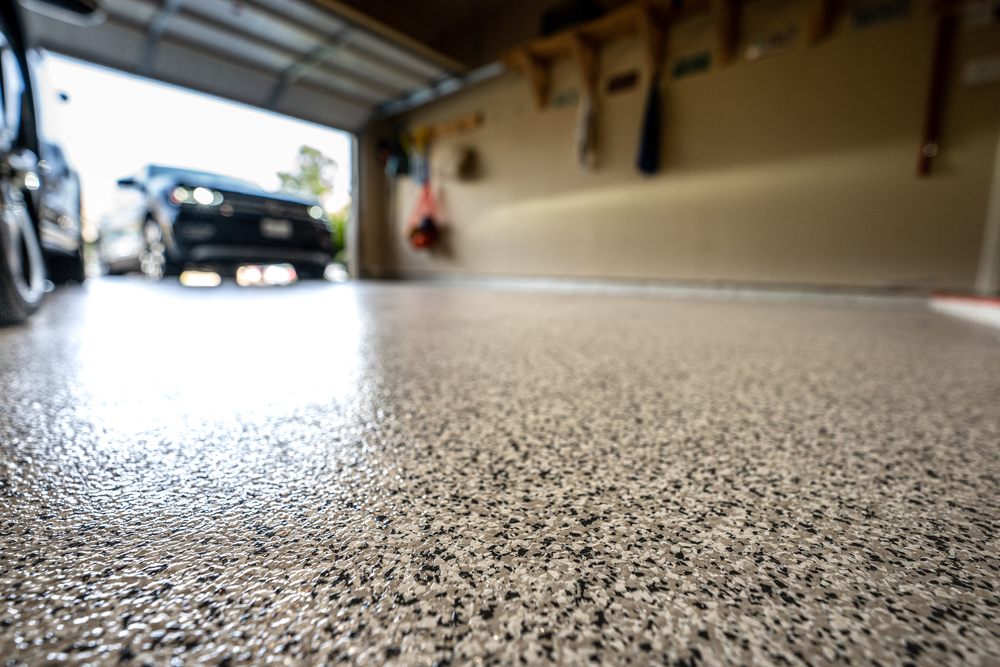
Full flake epoxy flooring
Please note that his is a guide only. There are many factors outside of our control that can affect your final finish. All products are of professional grade and should only be attempted as a DIY project if you are sufficiently confident with your own abilities. Consult the technical data sheets and the material safety data sheets before commencing any work.
Tools and gear needed
- Flat squeegee
- Roller
Materials needed
- DNY 200 epoxy primer – coverage rate is typically 8-10 m²/L
- DHDC 6400 High build epoxy – coverage rate is typically 5-8 m²/L
- Full flake – half kg per m²
- Anythane Plus – also available in a water based version as well – coverage rate is typically 8-10 m²/L
- Hydrochloric acid
Steps
Preparation
Safety measures
No special precautions are needed in this step
Actions to take
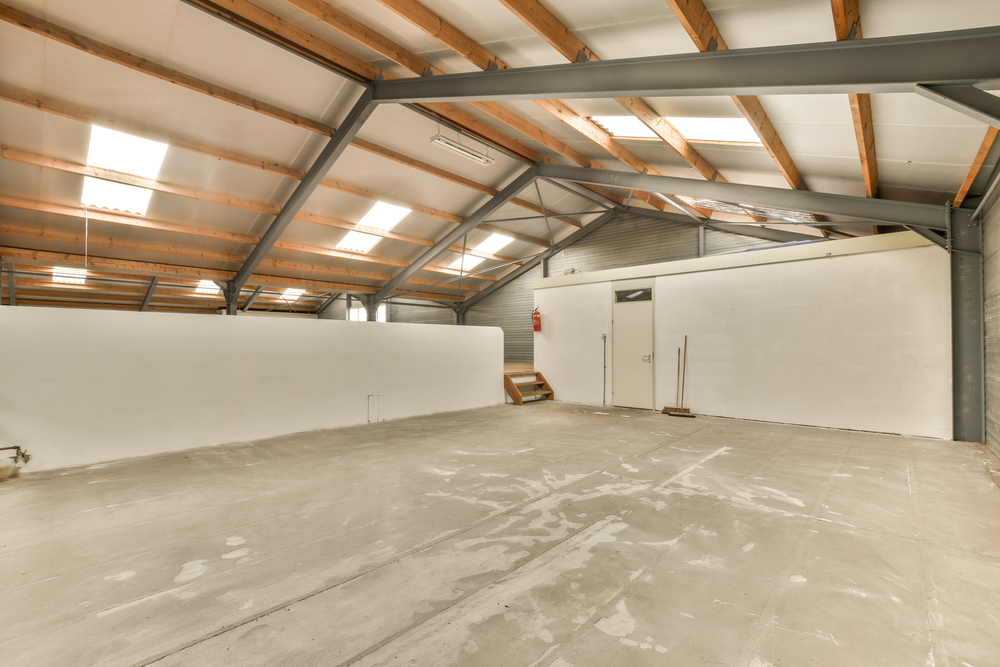
Prepare the surface thoroughly, it is highly important to the longevity of any concrete surface coating
Ensure the surface is clean and free of any contaminants as well as dust and any previous coverings
Spray surface using high pressure hose (recommended to use 3000psi)
Use appropriate cleaning solutions and degreaser to remove any remaining grease and oil
Use an acid wash (10:1 water : hydrochloric acid) to remove any remaining contaminants as well as abrading the surface slightly
Clear the surface again using the high pressure hose, ensuring all cleaning agents are cleared now
Wait period before beginning next step
Wait until the surface is fully dried before beginning your application
Helpful tip
Hydrochloric acid (32%) or pool acid are recommended for an acid wash if needed.
1st Coat
Safety measures
No special precautions are needed in this step
Actions to take
Mix DNY 200 epoxy primer parts A & B
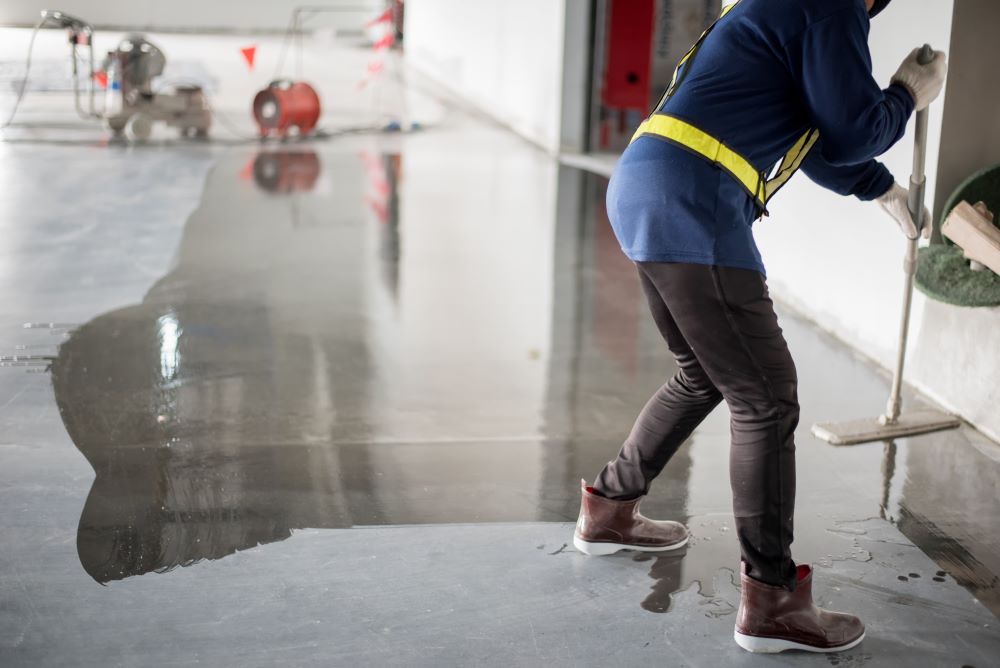
Pour the primer coat of DNY 200 primer onto surface and spread evenly using a squeegee, and back-roll with a roller
Wait period before beginning next step
Allow the primer to cure, check TDS for cure times
Helpful tip
Give maximum time to work with your epoxy. Keep unmixed containers iced before use.
2nd Coat
Safety measures
No special precautions are needed in this step
Actions to take
Mix DHDC 6400 epoxy part A & B.
If you are tinting then mix the colour tint with part A before combining A & B
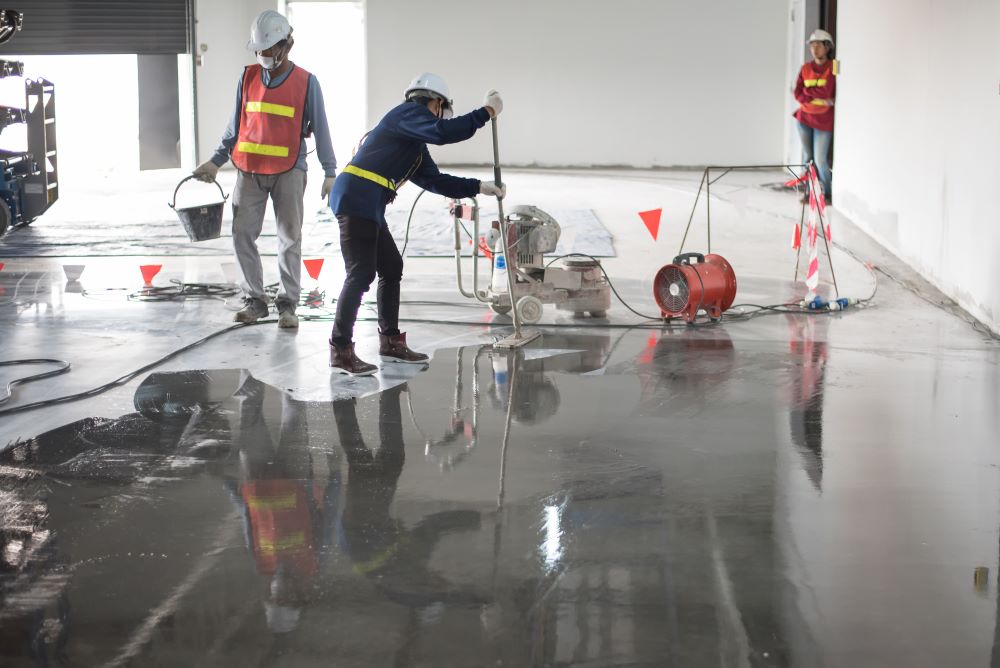
Pour DHDC 6400 epoxy onto surface and spread evenly using a squeegee and back-roll with a roller
Sprinkle chosen flake across the surface immediately after epoxy goes down.
You can choose to use an old roller to push the flake into the epoxy.
Wait period before beginning next step
Allow the epoxy time to fully dry, check the TDS for cure times
Helpful tip
Have a second person laying flake immediately after epoxy is rolled out to ensure as much flake as possible sticks to the epoxy.
3rd & 4th coat
Safety measures
No special precautions are needed in this step
Actions to take
Sweep excess flake away and then scrape or sand the surface to your desired texture
Mix the Anythane Plus top coat parts A & B
Pour the Anythane polyurethane onto the surface and spread evenly using rollers
Once the first Anythane coat has dried apply a second coat. Apply the second coat within 16 hours of the first coat.
Wait period before beginning next step
Allow the surface to dry completely, see the TDS for cure times

Helpful tip
Roll anythane evenly, then back at a 90° angle with micro fibre roller
Contact Us Today
Drop us a line
To get started, simply fill out the form below or contact us using any of the provided contact methods.
Head office number
1300 655 853
Sales@oxide.com.au
Locations
236-238 Planet st, Welshpool, Perth WA 6106
Trading Hours
-
Monday 7am - 4pm
-
Tuesday 7am - 4pm
-
Wednesday 7am - 4pm
-
Thursday 7am - 4pm
-
Friday 7am - 4pm
-
Saturday Closed
-
Sunday Closed
